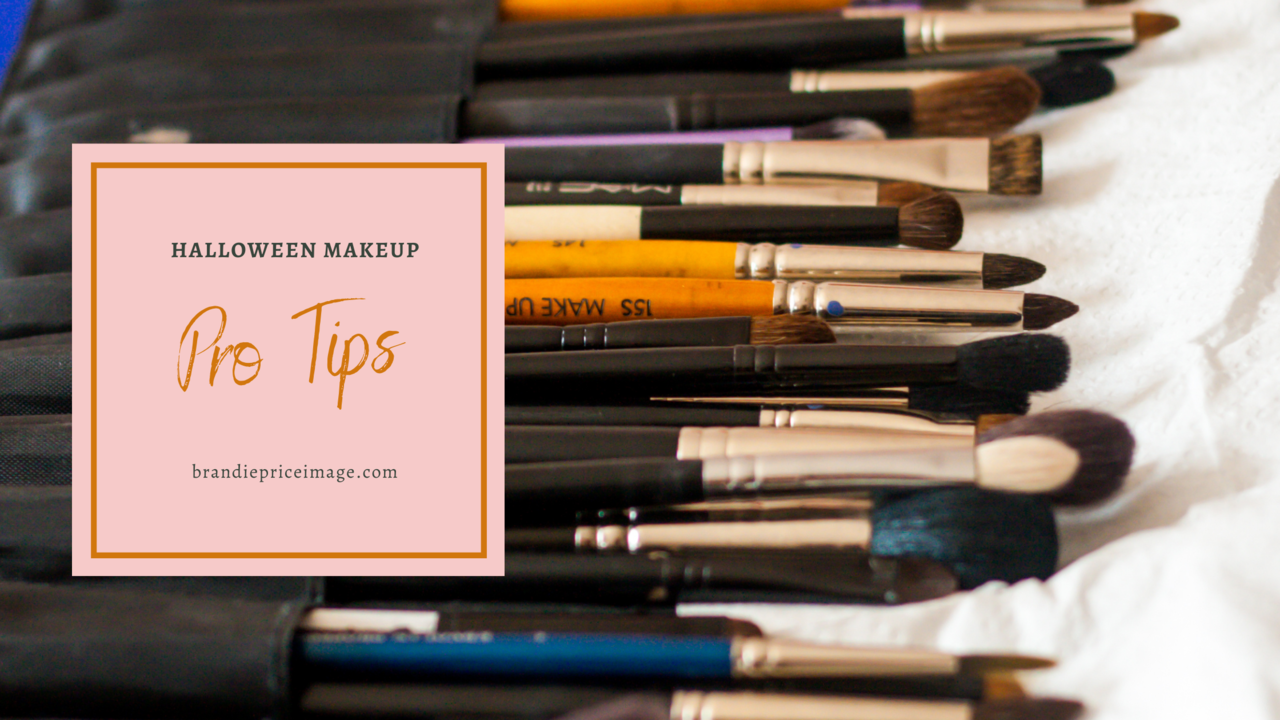
Pro Tips for DIY Halloween Makeup
Oct 21, 2020
It's been a little while since I've been able to embrace the full Halloween makeup scene in Las Vegas.
If you love Halloween, but have never experienced the holiday in Vegas, you should give it a try. All of the costumes and body paint, along with all day performances on the strip are a sight that you won't soon forget.
But what about this year? I am not going to lie, 2020 is different, especially when it comes to having your makeup professionally done. I have put together my Top Pro Tips for getting the best DIY application at home this year. That way you can still stand out at the neighborhood festivities!
Step 1- Your skin will need to be properly nourished before you start applying makeup. I recommend Olay Regenerist Ultra Rich Moisturizer. This rich creme promotes cell turnover and strengthens your skin’s natural moisture barrier. What this means for your Halloween makeup application is key. This will create the proper environment for your skin to be protected from all of the makeup that will be going on top...I'm guessing that you don't normally show up on Zoom with this much product?? This Moisturizer is available on Olay.com for under $30 or check out your local retailer for curbside pickup!
Step 2- You are getting ready to create your own face chart for your Halloween look. Start cooking that vision up and get it down on paper. See any changes that need to be made? Go ahead and make those. Part of the reason that DIY makeup applications fail, is the lack of sustained thought going into the application. You will want to actually practice drawing what you are envisioning! Use colored pencils or crayons to color in the areas that need more color or definition. You will want to practice and fine tune a couple of times leading up to the big day.
Step 3- Apply a light tinted layer of foundation in the color of your character! Is she a green witch? Then tint your regular foundation with green to give her that witch’s glow. For this tinting process, I use a bit of Make Up For Ever’s Flash color palette, and about a half to two thirds the amount of foundation you would use on a typical day. It just takes a little bit to mix into the foundation to make a rich color without creating a mess, or becoming too chunky. It is imperative to mix this into the foundation, instead of using alone to make sure the combination will dry! This is available at www.makeupforeverus.com
Step 4- Remember that drawing on paper?? What a confidence booster, right? Now, to the best of your ability sub your #2 pencil for a Make Up For Ever Artist Color Pencil. and start sketching out the design over the contours of your face. Go lightly, and choose a color that will be just a touch darker than your foundation shade. These can also be purchased at www.makeupforeverus.com
Step 5- Start coloring your face in. Again, I love the Artist Color Pencils from Make Up Forever. They come in so many shades and are also water resistant, so you don’t have to worry about sweating, or being kissed by a goblin at some point during the night. Add glitter if appropriate before the final step!
Step 6- Spray a generous layer of Make Up For Ever Velvet Skin over your completed design, this will ensure that your application stays in that first class state.
Brandie Price is an Award Winning Celebrity Makeup Artist and On-Camera Image Consultant
You can follow her here:
Instagram: @brandiepriceimage
YouTube: Brandie Price Image
visit www.brandiepriceimage.com for more on-camera confidence, makeup, and style tips.
SUBSCRIBE FOR WEEKLY LIFE LESSONS
Lorem ipsum dolor sit amet, metus at rhoncus dapibus, habitasse vitae cubilia odio sed.
We hate SPAM. We will never sell your information, for any reason.
